Creating a Lab on Windows Azure
Recently when I got access to Azure I wanted to create my lab on Azure which took me days to figure out the process. It is similar to what we do on our Hyper V machines but a bit complex in nature because we are working on cloud
We follow the same process on our local machine to create a Lab environment but normally we are short of resources like Disk Space, RAM, CPU which is the taken care by Azure. Biggest dis-advantage for our local system environment is when you buy these resources, you don’t use it all the time which we have already paid for. In Azure we pay only when you use it.
Today we will understand how we can create our own Lab environment on Windows Azure. The whole process is lengthy to explain so I have divided it in 8 different parts listed below. Hope you will enjoy learning it.
- Connect to your Azure Subscription using PowerShell.
- Create a Virtual Network in Azure
- Create a server on Azure in the Virtual Network
- Create a new domain
- Update Domain setting on Virtual Network and bind it to Private IP on DC
- When creating a new server it should be part of this domain
- Install SQL, SharePoint. labs as part of this domain
- Troubleshoot common issue during this process
- Connect to your Azure Subscription using PowerShell
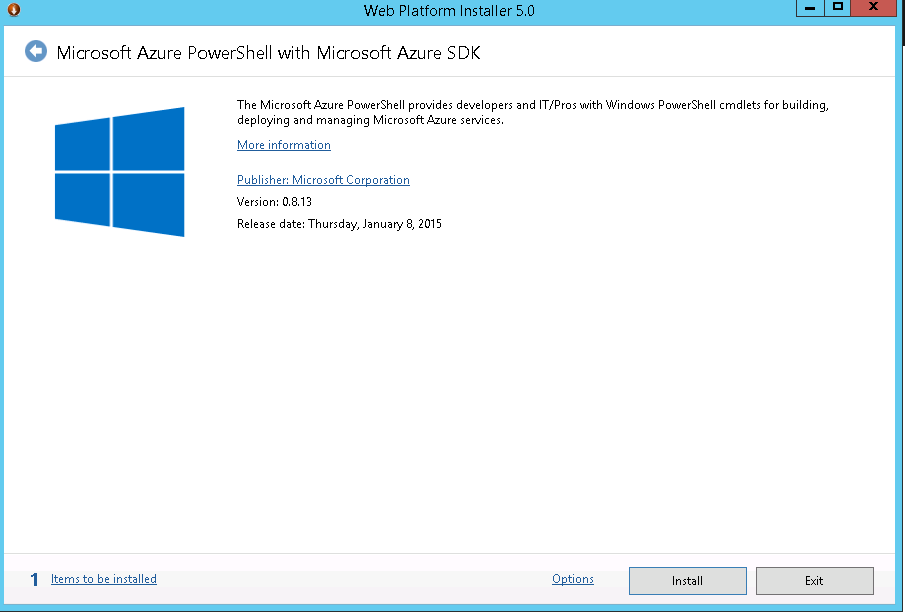
You cannot create your lab with just Azure User Interface. It’s said that “Well planned is half done”. So let’s plan and prepare our self with Azure PowerShell. Go to below link and download Microsoft Web Platform installer.
- You can use it download and install Azure PowerShell

- Once the PowerShell is downloaded and installed, we will get below message
- Now we will download the Azure Setting file to connect to our Azure subscription. In the Azure PowerShell, type below command.
Get-AzurePublishSettingsFile
![]()
- Once you login to your Azure website, you will get a file named “Visual Studio Premium with MSDN-date-credentials.publishsettings”.
Note: File name may change based on your subscription. Save it to a secure location. This file contains secure credentials and additional information about subscriptions that you can use in your Azure environment.
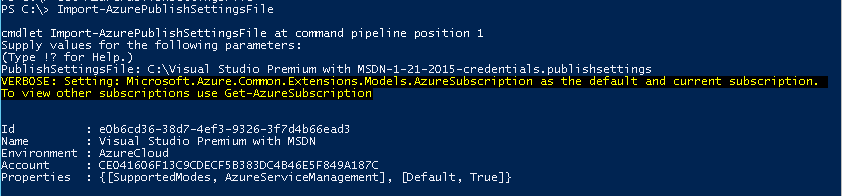
- Now Import the Azure Settings file to PowerShell. Run “Import-AzurePublishSettingsFile” and then type path of the file we just downloaded as shown in below image.
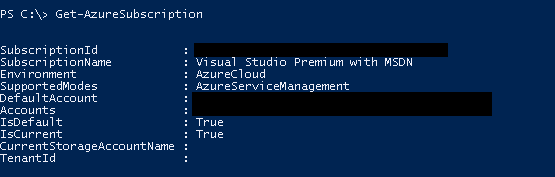
- To check Subscription details run below command
Get-AzureSubscription