Create a Active Directory Forest on a Windows Azure VM
- Create a new domain
Now let’s configure this server to be a Domain Controller. As discussed earlier Domain controller manage DNS, AD Users, etc. and are normally the 1st and most important server in a company.
- Login to your Azure Subscription Portal site https://manage.windowsazure.com
- Select Virtual Machine from left Menu
- Select the Virtual Machine we just created and click on Connect at bottom
- Now RDP to the Virtual Machine we created and click on Server Manager
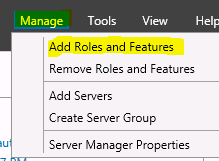
- Select Manager > Add Roles and Features
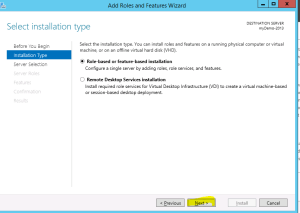
- Select “Next” on Installation Type screen
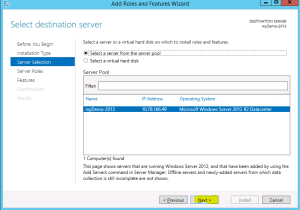
- Select “Next” on Destination Server screen
- Check Box “Active Directory Domain servers”
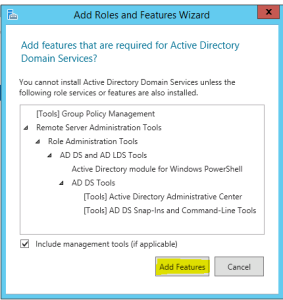
- Click on “Add Feature” on pop-up screen
- Select the check box “Restart the destination server if required” > Click OK
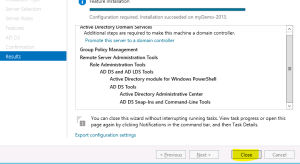
- Once it is installed, Click on Close
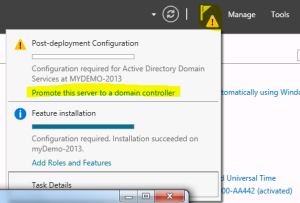
- Open the Server Manager again, Click on Flag at top and select “Promote this server to a Domain Controller”
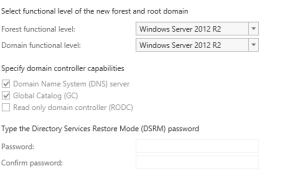
- Select “Add a New forest”, type domain name
- Type the DSRM password and click “Next” (Note: this is required when you try to recover your active directory)
- Now you will have to select your domain name. For example. Demo.com
- The NetBIOS Name screen will remove .com and you will see only demo.
- Select the Default location of installation and click “Next”
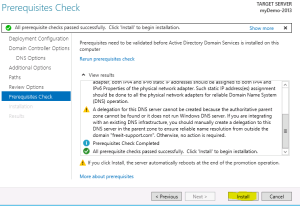
- Click on “Install”
- Once the Computer is restarted, your Domain Controller would be ready.
Note: From now on when you logon to server you need use your domain name along with username we just created to authenticate to server. Example: demo\user1


