Archive for November, 2023
SharePoint: New site theme options
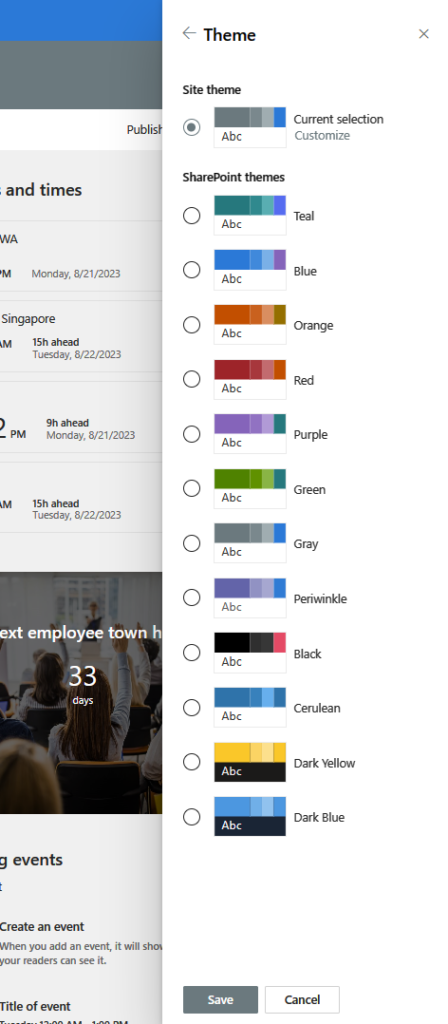
While engaging with SharePoint, I happened upon a discovery that caught my attention. Within the Change the Look menu, I stumbled upon two novel themes. Dubbed as Black and Cerulean, these newly introduced themes provide fresh avenues for customizing the visual identity of your SharePoint sites.
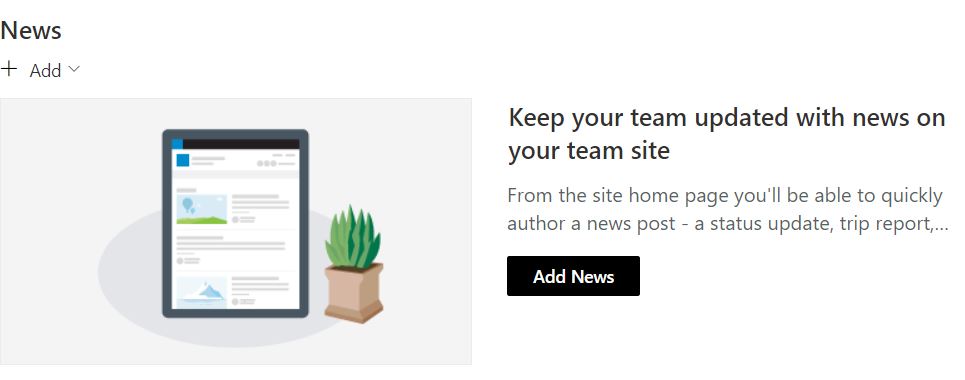
Black, an alluring dark theme, employs a palette of black, gray, and white to craft a suave and sophisticated aesthetic. It caters to sites aspiring to exude a professional and refined ambiance. Moreover, Black serves the purpose of mitigating ocular strain and amplifying contrast, a boon for users operating in dimly lit surroundings.
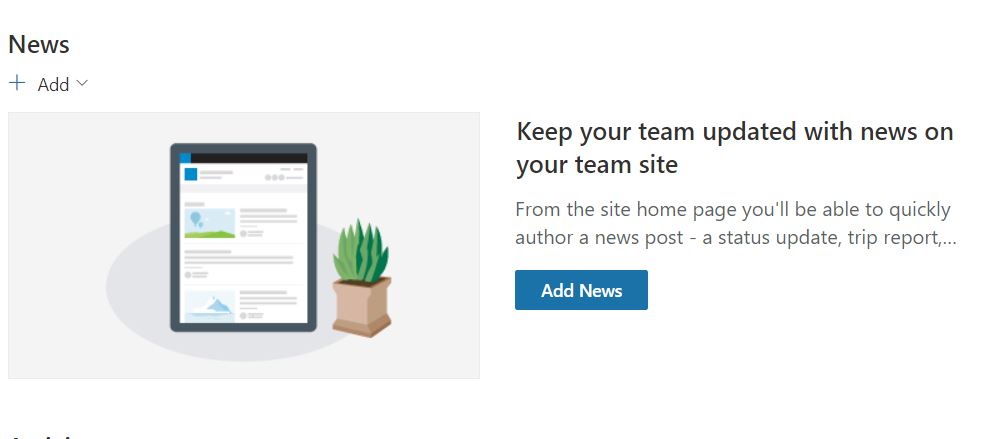
On the other hand, Cerulean boasts a luminous theme, harnessing hues of blue, green, and white to yield a serene and invigorating semblance. Ideal for sites seeking to radiate an aura of expansiveness and inventiveness. In addition, Cerulean bolsters legibility and inclusivity for users laboring in brightly lit settings.
- On your site, click Settings and then click Change the Look > Theme
- Under the “Personalize your background” setting, select the Picture option.
- Click the Browse photos button and select the background image that matches the theme you want to use. For example, if you want to use the Black theme, select the image named “Black.jpg”.
- Click the Choose picture button.
- Under the “Choose a color” setting, select the color palette that matches the theme you want to use. For example, if you want to use the Black theme, select the palette named “Black”.
- Click the Save button to apply the theme to your site.

Here is a screenshot of how the Black theme looks like:

And here is a screenshot of how the Cerulean theme looks like:

By using these themes, you can enhance your site customization options and make your sites look more attractive and engaging.
Microsoft Forms: Migrate Google Forms through the M365 Admin Center
A recent enhancement in Microsoft Forms provides a seamless migration path from Google Forms to Microsoft Forms through the Microsoft 365 admin center. This augmentation is a component of the comprehensive Google Workspace migration service, empowering administrators to transfer Google Docs, Sheets, and Slides to Microsoft 365. To leverage this functionality, admins must adhere to a specific set of steps.
To use this feature, admins need to follow these steps:
- Sign in to the Microsoft 365 admin center with an account that has global admin or SharePoint admin permissions.
- Go to Settings > Migration > Google Workspace migration.
- Connect to Google by signing in with a Google account that has read access to the Google Forms that need to be migrated.
- Add the Microsoft 365 migration app to the Google Workspace account custom apps.
- Select the users whose Google Forms need to be migrated and add them to the migration list.
- Review the destination paths for each user and modify them if needed. The destination paths are automatically mapped to match the source paths in Google Drive.
- Map the identities of the users and groups in Google Drive to their corresponding accounts in Microsoft 365. This will help migrate the permissions and sharing settings of the Google Forms.
- Start the migration and monitor the progress. The migration status will be shown in the admin center and in the Migration Manager app in SharePoint.
Once the migration is completed, users can access their migrated Google Forms in Microsoft Forms. They can also view and edit their forms in OneDrive or SharePoint, where they are stored as Excel files. Users can also share their forms with others, collect responses, and analyze the results using Microsoft Forms’ built-in features.
The migration feature supports most of the question types, settings, and features of Google Forms, such as multiple choice, short answer, linear scale, date, time, file upload, required questions, shuffle options, response validation, confirmation message, and more. However, some features are not supported or have some limitations, such as:
- Images and videos embedded in Google Forms are not migrated. Users need to manually add them to their Microsoft Forms after migration.
- Sections and page breaks in Google Forms are not migrated. Users need to manually add them to their Microsoft Forms after migration.
- Logic branching and conditional questions in Google Forms are not migrated. Users need to manually add them to their Microsoft Forms after migration.
- Quizzes and scoring settings in Google Forms are not migrated. Users need to manually enable them in their Microsoft Forms after migration.
- Response data and summary reports in Google Forms are not migrated. Users need to collect new responses and generate new reports in Microsoft Forms after migration.
By using this feature, users can easily switch from Google Forms to Microsoft Forms without losing their existing forms or data. They can also enjoy the benefits of Microsoft Forms’ integration with other Microsoft 365 apps and services, such as Teams, Outlook, PowerPoint, Stream, Dynamics 365, Power BI, Power Automate, and more.
