- An error has occurred, which probably means the feed is down. Try again later.
Posts Tagged ‘network’
Creating a Lab on Windows Azure – Install SQL, SharePoint. etc. labs as part of this domain
- Install SQL, SharePoint. etc. labs as part of this domain
Once we are confirmed using script we are able to add new Virtual Machine to domain, we can use the ready to use SharePoint, SQL, etc. VM’s as part of our Lab environment. Let’s see an example of SharePoint server.
- Login to your Azure Subscription Portal site https://manage.windowsazure.com
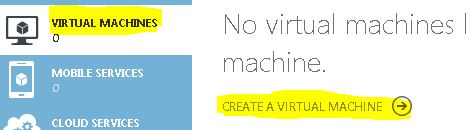
- Select “Virtual Machines” from left menu and select “Create a Virtual Machine”
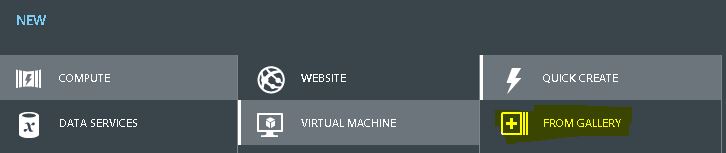
- Under “Virtual Machine” select “From Gallery”
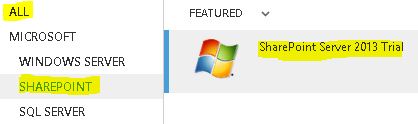
- On the Choose an Image screen select SharePoint server 2013 Trial. This trial works for 180 days.
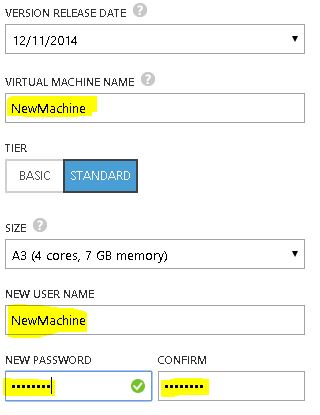
- Type the Machines necessary details like Hardware configuration, Machine name, username and password
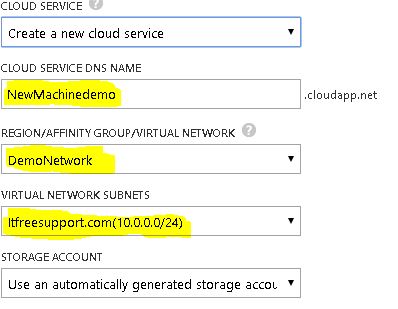
- Now we have an important step in the process. Select the DEMONETWORK you created in Region/Affinity Group/Virtual Network. Make sure our Virtual network name is selected in Virtual Network Subnet. Click on Next
- Now comes the most important step, we need to select Custom Script on this page and select the Join.ps1 script we just created. Click Finish

- Now you can see that even SharePoint server is ready within few minutes
- Advantage here is that you have a single credential stored on Active directory using which you manage all the Virtual Machine and work on your lab.
- Below you can see that I have created SQL server, SharePoint server and started using them in just couple of minutes.
Creating a Lab on Windows Azure – When creating a new server it should be part of this domain
We are nearly done with our Domain related activities. Now we need to make sure that all the Virtual Machines we create are part of same Active Directory. This will help us to manage the server and users in domain. In number of Demos we need a domain (AD), so we have met the most important pre-requisites.
- You need to copy below script into a notepad and save it as join.PS1
///// SCRIPT START HERE ////
$domainName = “type domain name here e.g. demo.com. It should be in quotes”
$username = “type domain\username e.g. demo\user1. It should be in quotes”
$password = “type password of above user e.g. 213@jjj. It should be in quotes”
$securePass = ConvertTo-SecureString $password -AsPlainText -Force
$cred = New-Object System.Management.Automation.PSCredential($username, $securePass)
Add-Computer -DomainName $domainName -Credential $cred -Restart –Force
////// SCRIPT END HERE ////
- Login to your Azure Subscription Portal site https://manage.windowsazure.com
- Select “Virtual Machines” from left menu and select “Create a Virtual Machine”
- Under “Virtual Machine” select “From Gallery”
- On the Choose an Image screen select “Windows server 2012 R2” and select Next
- Type the Machines necessary details like Hardware configuration, Machine name, username and password

- Now we have an important step in the process. Select the DEMONETWORK you created in Region/Affinity Group/Virtual Network. Make sure our Virtual network name is selected in Virtual Network Subnet. Click on Next
- Now comes the most important step, we need to select Custom Script on this page and select the Join.ps1 script we just created. Click Finish
- You will observer that your machine will reboot during the initialization process.
- Now when the machine is created, Open Server Manager and you will observe it is already part of Demo domain. On the domain controller in “Active Directory users and computers” you should be able to see the newly added
Note: In some rare scenario, the new computer may not get added to the domain. In that case, please run above PowerShell command line by line and the computer would be added to domain.
Creating a Lab on Windows Azure – Continue
- Update Domain setting on Virtual Network and bind it to Private IP on DC
So far we have created a Virtual Network and a Domain controller in that Virtual network. I hope this process was simple enough for you to follow. It is very important that Domain Controller and DNS have a static IP address so that all other machines know whom to contact to authenticate and resolve computer name. Now we need to make sure that our domain controller has a static IP address and then assign it to DNS on Virtual Network. To do so we will follow below steps:
- Login to your Azure Subscription Portal site https://manage.windowsazure.com
- Select Virtual Machine from left Menu
- Select the Virtual Machine we just created and click on Connect at bottom
- Now RDP to the Virtual Machine we created as a Domain Controller
- Open Windows PowerShell and run command “IPConfig”. Make a note of IP address
- Click on Start and Open DNS manager. Expand Computer name > Forward Lookup Zone > Demo.com > Make sure Ipconfig and DNS has same IP address.
![]()
- Make sure you are connected to Azure PowerShell account by following steps we discussed in section “Connect to your Azure Subscription using PowerShell”
- Run command “Get-AzureVM”. You should be able to see your Azure Virtual Machine name, make a note of same
![]()
- Run below command in Azure PowerShell
Get-AzureVM -ServiceName “Service name from Get-AzureVM command” -Name “name from Get-AzureVM command”| Set-AzureStaticVNetIP -IPAddress “10.0.0.4” | Update-AzureVM
- Now the system will get restarted and a Static IP will be assigned to same. We need to update the same IP in the Virtual Network we created in Azure.
- Login to your Azure Subscription Portal site https://manage.windowsazure.com
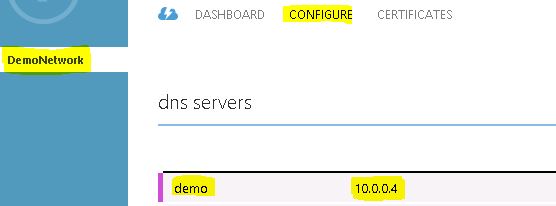
- Select “Network” from left pane > Select the “Demo Network” we created > Click “Configure” on top.
- Update the IP Address of Domain Controller and Domain name. E.g. demo 10.0.0.4. Click on Save at bottom to save these changes
Creating a Lab on Windows Azure – Continue
- Create a server on Azure in the Virtual Network
If you have worked on Hyper-V or any other Virtual server environment, this process is pretty simple for you. Here we will create our Virtual Machines. First machine would be our Domain Controller also known as DC. This server manage DNS, AD Users, etc. and normally the 1st and most important server in a company.
- Login to your Azure Subscription Portal site https://manage.windowsazure.com
- Select “Virtual Machines” from left menu and select “Create a Virtual Machine”
- Under “Virtual Machine” select “From Gallery”
- On the Choose an Image screen select “Windows server 2012 R2” and select Next
- Type a unique name for the Virtual Machine. Select a username and password which you will never forget.(Selected a Low configuration because I won’t be using it much)
- Now we have the most important step in the process. Select the DEMONETWORK you created in Region/Affinity Group/Virtual Network. Make sure our Virtual network name is selected in Virtual Network Subnet. Click on Next.
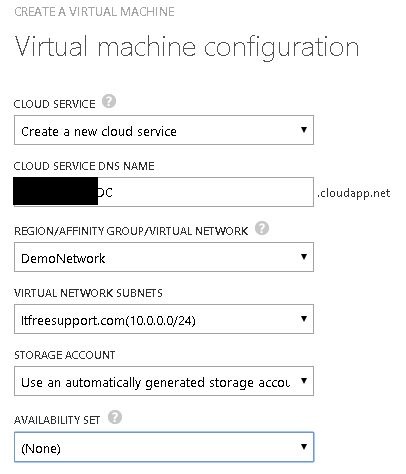
- Now Select Finish.
- Once the Machine is created, you will get a Connect button at bottom of screen.
Create a Active Directory Forest on a Windows Azure VM
- Create a new domain
Now let’s configure this server to be a Domain Controller. As discussed earlier Domain controller manage DNS, AD Users, etc. and are normally the 1st and most important server in a company.
- Login to your Azure Subscription Portal site https://manage.windowsazure.com
- Select Virtual Machine from left Menu
- Select the Virtual Machine we just created and click on Connect at bottom
- Now RDP to the Virtual Machine we created and click on Server Manager

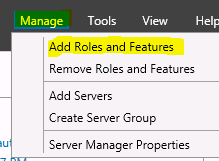
- Select Manager > Add Roles and Features
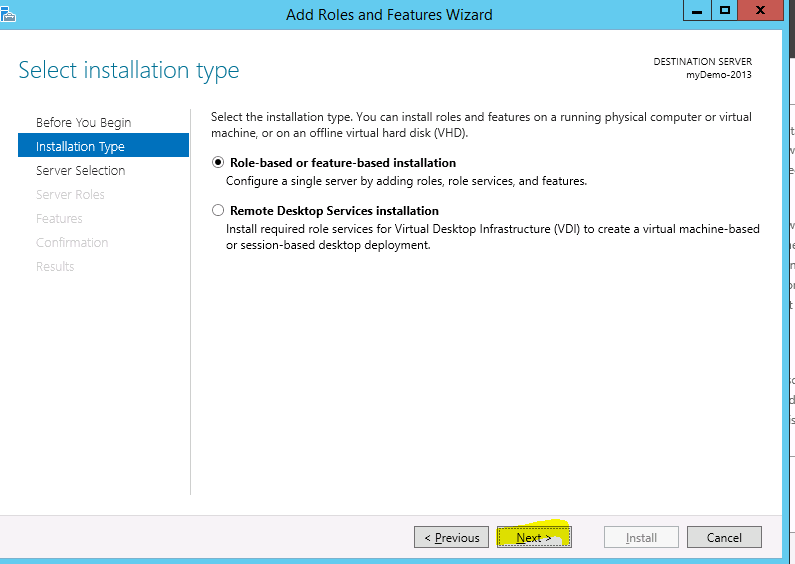
- Select “Next” on Installation Type screen
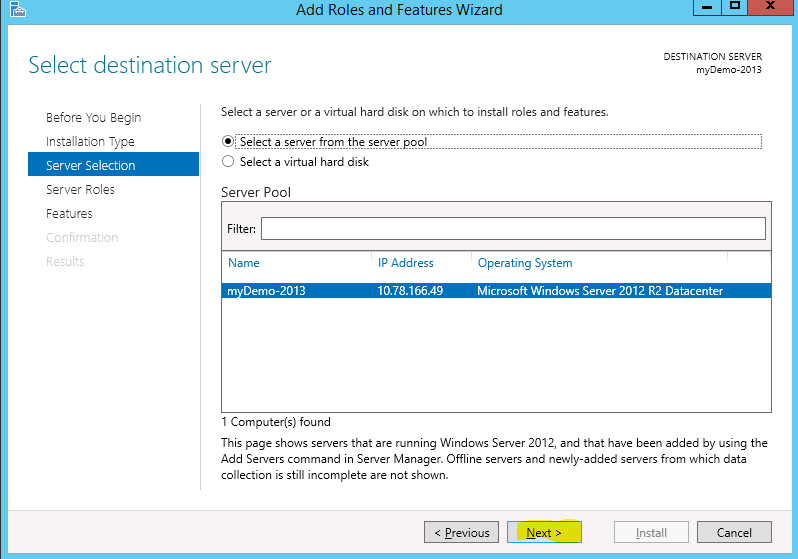
- Select “Next” on Destination Server screen
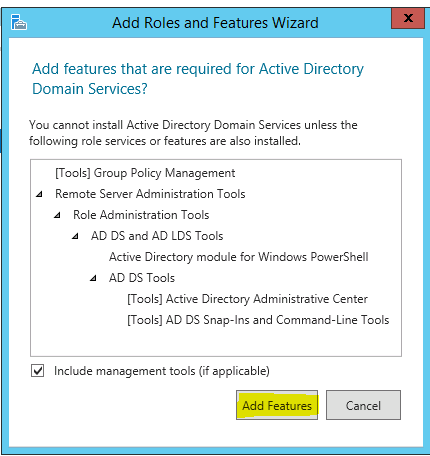
- Check Box “Active Directory Domain servers”
![]()
- Click on “Add Feature” on pop-up screen
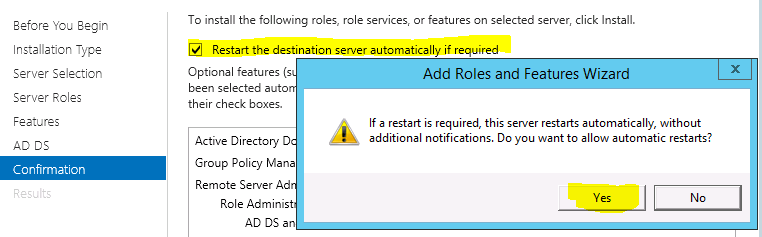
- Select the check box “Restart the destination server if required” > Click OK
- Once it is installed, Click on Close
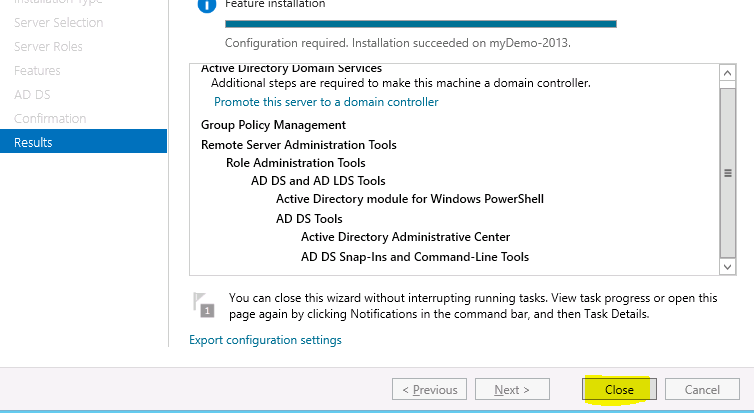
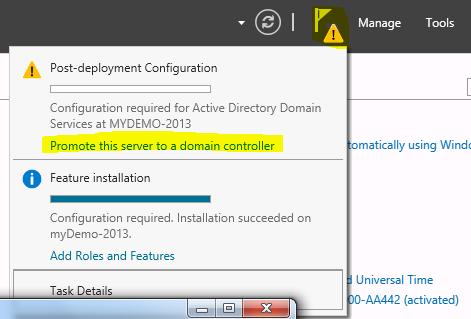
- Open the Server Manager again, Click on Flag at top and select “Promote this server to a Domain Controller”
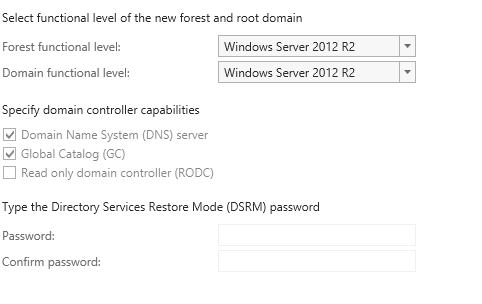
- Select “Add a New forest”, type domain name
- Type the DSRM password and click “Next” (Note: this is required when you try to recover your active directory)
- Now you will have to select your domain name. For example. Demo.com
- The NetBIOS Name screen will remove .com and you will see only demo.
- Select the Default location of installation and click “Next”
- Click on “Install”
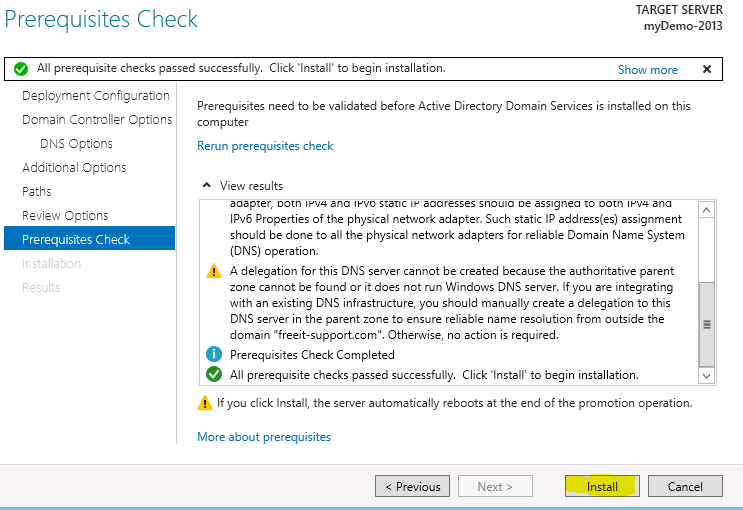
- Once the Computer is restarted, your Domain Controller would be ready.
Note: From now on when you logon to server you need use your domain name along with username we just created to authenticate to server. Example: demo\user1