- An error has occurred, which probably means the feed is down. Try again later.
openfire installation on Centos 6.6
Hello Everyone,
Today we are installing openfire server on centos
what is openfire is opensource IM server means it’s best alternative for MS lync, you can also enable voice chat in openfire for that you have to install require plug inns.
& again best things for openfire is it’s FREE….
So here we start openfire installation
Login to the server as root This installs the dependencies:
yum -y install wget java glibc.i686
download RPM from
wget http://download.igniterealtime.org/openfire/openfire-3.8.1-1.i386.rpm
Run & installed the RPM
Yum –y install openfire-3.8.1-1.i386.rpm
Now start the openfire service
service openfire start
chkconfig openfire on
now stop the iptable for time being
service iptables stop
Install mysql server
yum -y install mysql-server
now start the mysql service
service mysqld start
chkconfig mysqld on
mysql secure installation
mysql_secure_installation
NOTE: RUNNING ALL PARTS OF THIS SCRIPT IS RECOMMENDED FOR ALL MySQL
SERVERS IN PRODUCTION — USE! PLEASE READ EACH STEP CAREFULLY!
In order to log into MySQL to secure it, we’ll need the current
password for the root user. If you’ve just installed MySQL, and
you haven’t set the root password yet, the password will be blank,
so you should just press enter here.
Enter current password for root (enter for none):
OK, successfully used password, moving on…
Setting the root password ensures that nobody can log into the MySQL
root user without the proper authorisation.
Set root password? [Y/n] y
New password:
Re-enter new password:
Password updated successfully!
Reloading privilege tables..
… Success! ………………………………………………………………………………………………………………………………………..
……………………………………………………………………………………………………………………………………………………………..
…………………………………………………………………………………………………………………………………………………………………………….
Now Restart mysql server
service mysqld restart
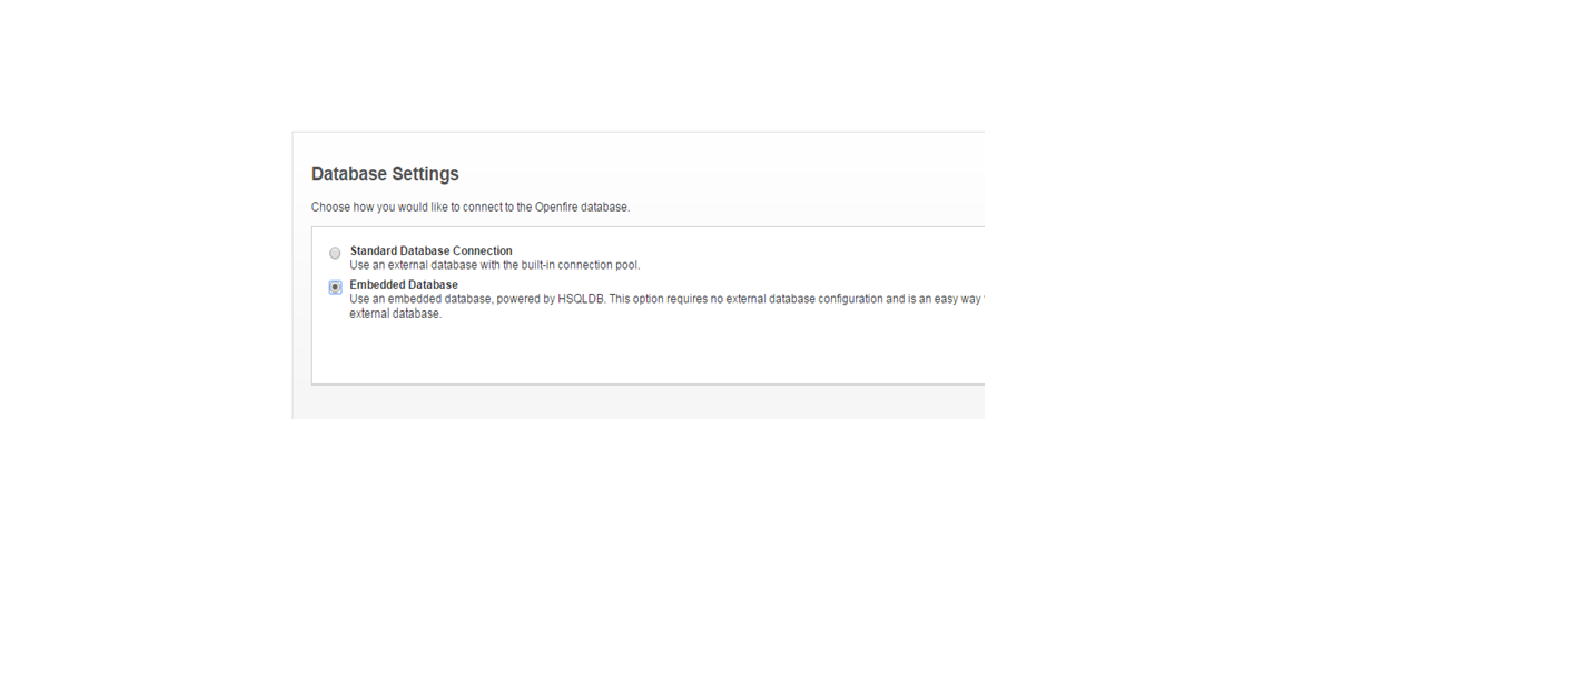
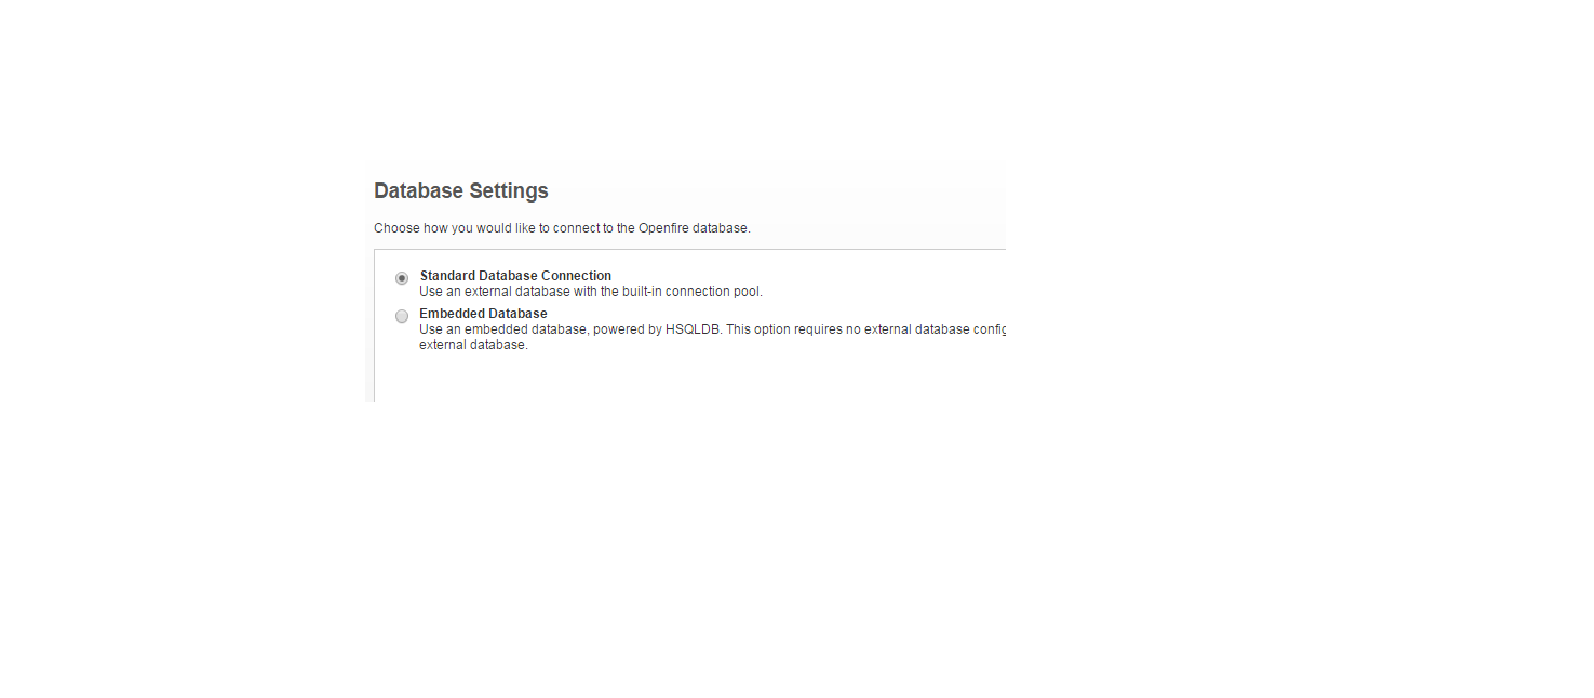
Now log in to the mysql with root username & password , create a database named “openfire”
mysql -u root –p
create a database openfire
mysql> — CREATE DATABASE openfire;
mysql> CREATE — USER ‘fire’@’localhost’ IDENTIFIED BY ‘root123’;
Query OK, 0 rows affected (0.00 sec)
mysql> GRANT SELECT,INSERT,UPDATE,DELETE,CREATE,DROP
-> ON openfire.*
-> TO ‘fire’@’localhost’;
Query OK, 0 rows affected (0.00 sec)
mysql> FLUSH PRIVILEGES;
Query OK, 0 rows affected (0.00 sec)
mysql>exit
Service iptables stop
Or
You can add below ports in iptables
-A INPUT -m state –state NEW -m tcp -p tcp –dport 9090 -j ACCEPT
-A INPUT -m state –state NEW -m tcp -p tcp –dport 5222 -j ACCEPT
-A INPUT -m state –state NEW -m tcp -p tcp –dport 5223 -j ACCEPT
-A INPUT -m state –state NEW -m tcp -p tcp –dport 9091 -j ACCEPT
-A INPUT -m state –state NEW -m tcp -p tcp –dport 7777 -j ACCEPT
-A INPUT -m state –state NEW -m tcp -p tcp –dport 7070 -j ACCEPT
-A INPUT -m state –state NEW -m tcp -p tcp –dport 7443 -j ACCEPT
-A INPUT -m state –state NEW -m tcp -p tcp –dport 5229 -j ACCEPT
-A INPUT -j REJECT –reject-with icmp-host-prohibited
[root@openfire ~]# service iptables restart
iptables: Setting chains to policy ACCEPT: filter [ OK ]
iptables: Flushing firewall rules: [ OK ]
iptables: Unloading modules: [ OK ]
iptables: Applying firewall rules: [ OK ]
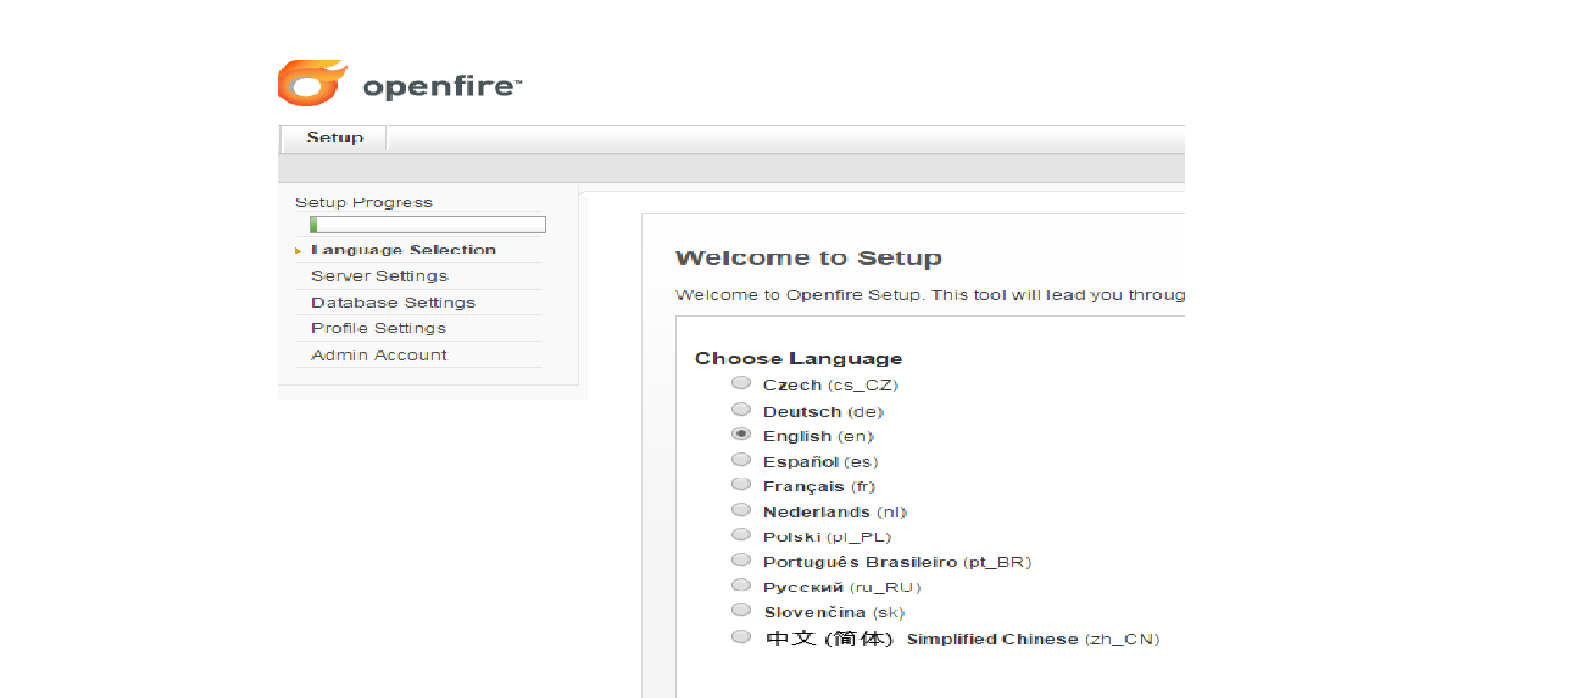
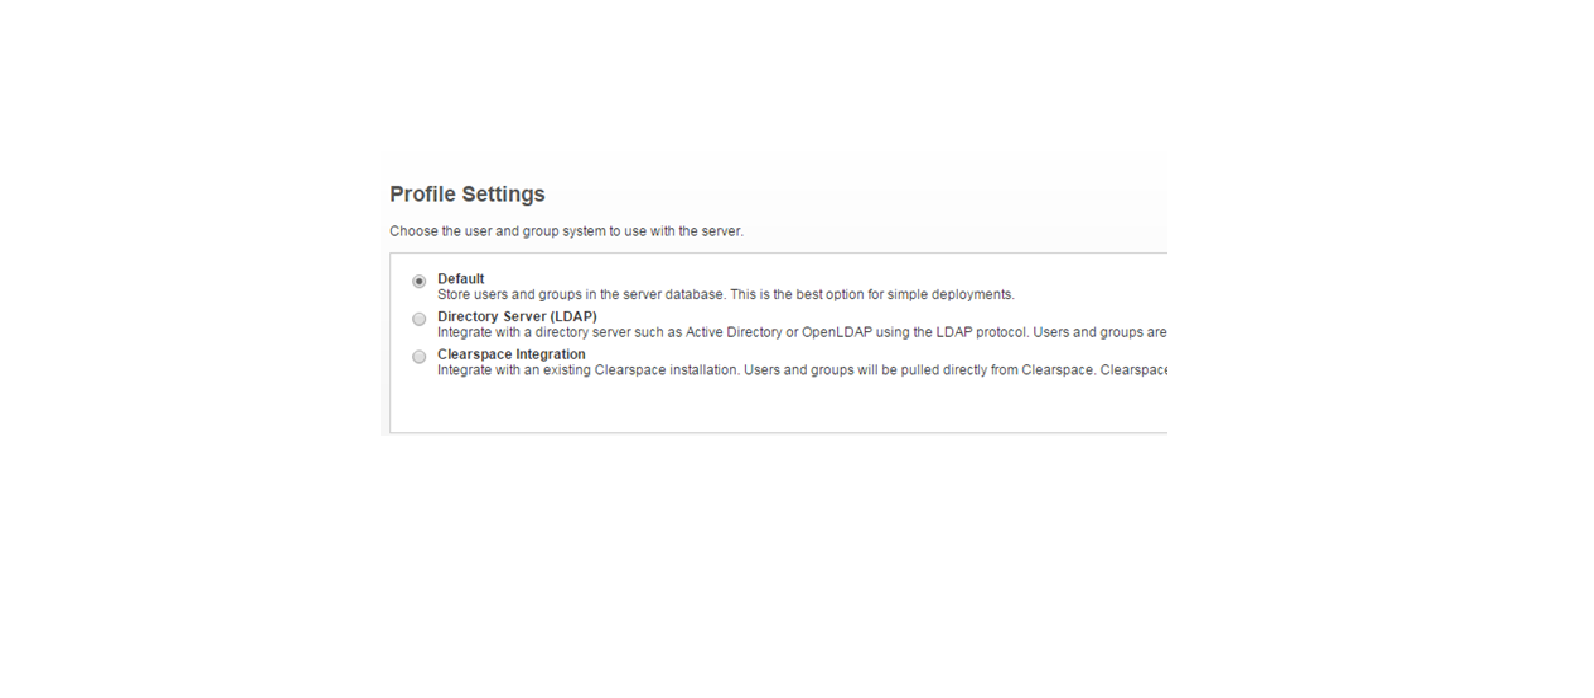
http://hostname:9090/login.jsp
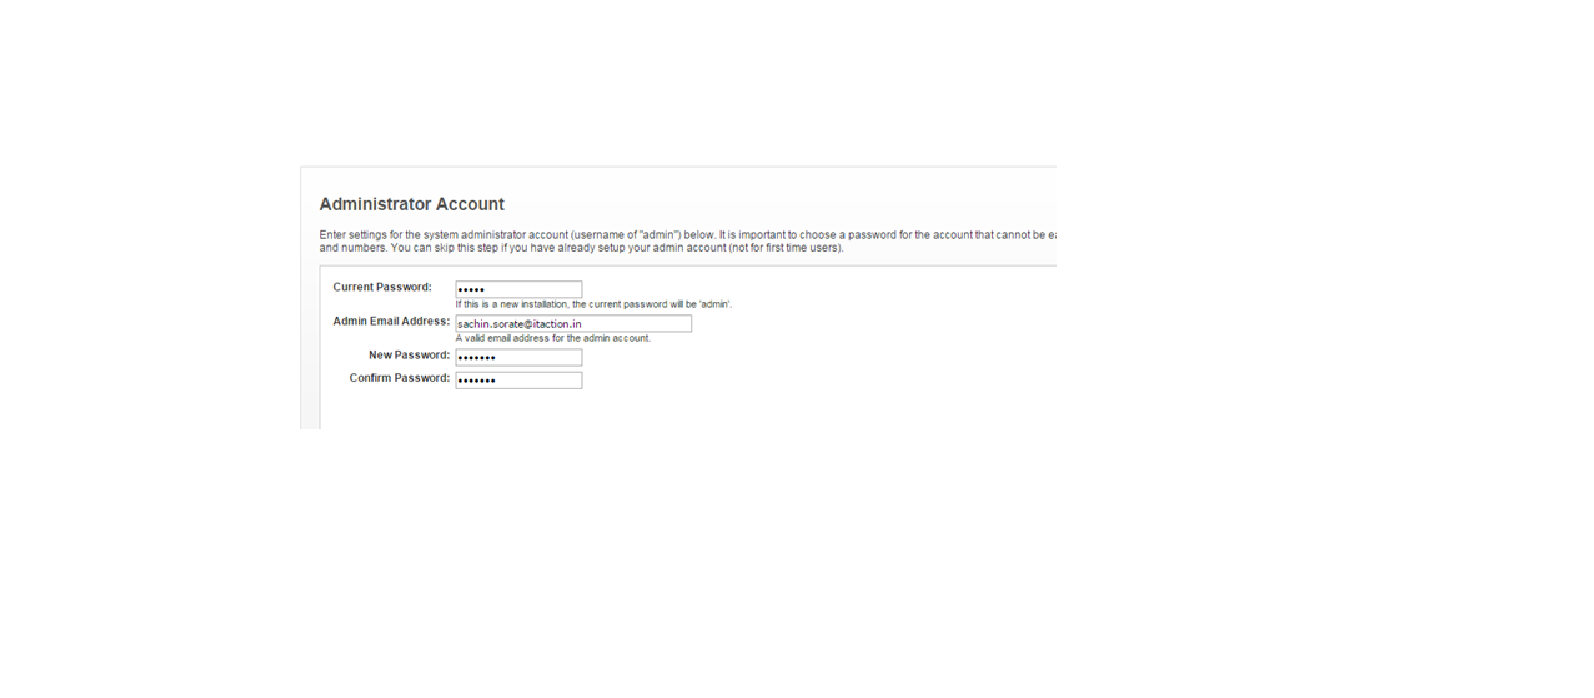
log in to the server as
admin
default password “admin”
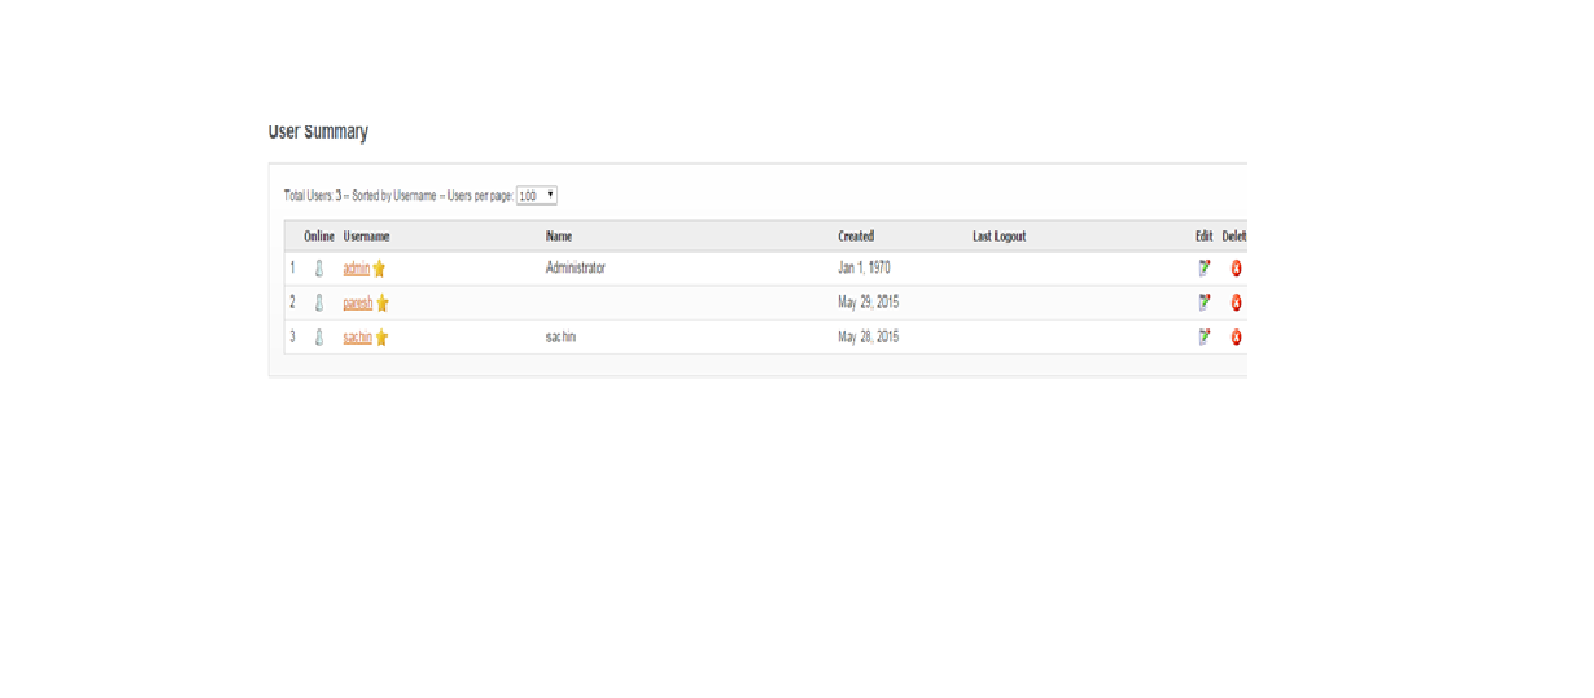
I have created user named “Sachin” & “paresh”
Install Spark messenger on your desktop
Downlod link for spark IM
http://www.igniterealtime.org/downloads/

It’s
Done
–Sachin